
Prerequisite
Get Adobe Acrobat Reader DC (free software) and install it on your PC.
If you use your smart phone, you need to buy Adobe Acrobat Pro DC (XI) or later.
If you don’t have the required environment, you may submit the items via a postal service.
In order to insert your photo and signature into PDF application form, you need to convert these jpeg files to PDF format.
Follow the instructions below:
- Preparation of signature and photo
- Trimming
- Convert JPEG to PDF
- Put your photo on PDF form
- Add signature to application form
1) Preparation of signature and photo
Write your signature on a white paper and scan it with a scanner.
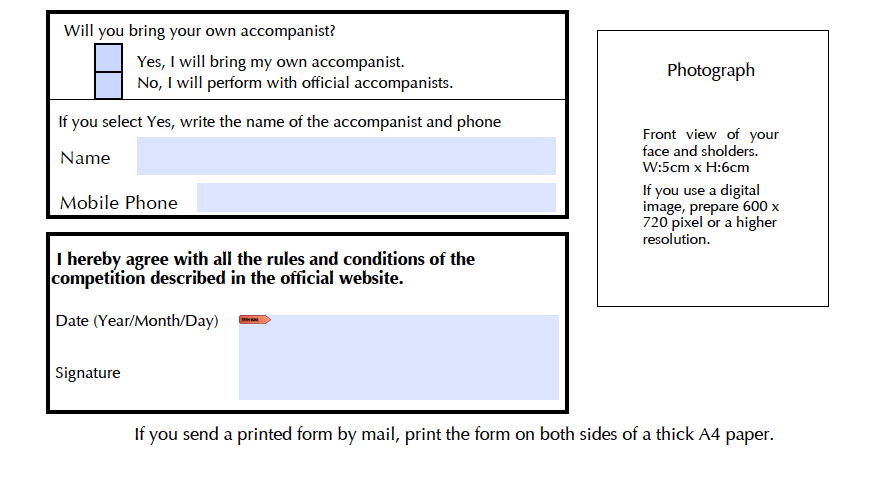
Prepare your ID photo. The resolution needs to be 300 dpi or higher.

2) Trimming
Crop your signature from the scanned data.
Trim your photo image to fit width:height as 5:6.
Use your image editing software or when unavailable, use PIXLR EDITOR to trim the images.
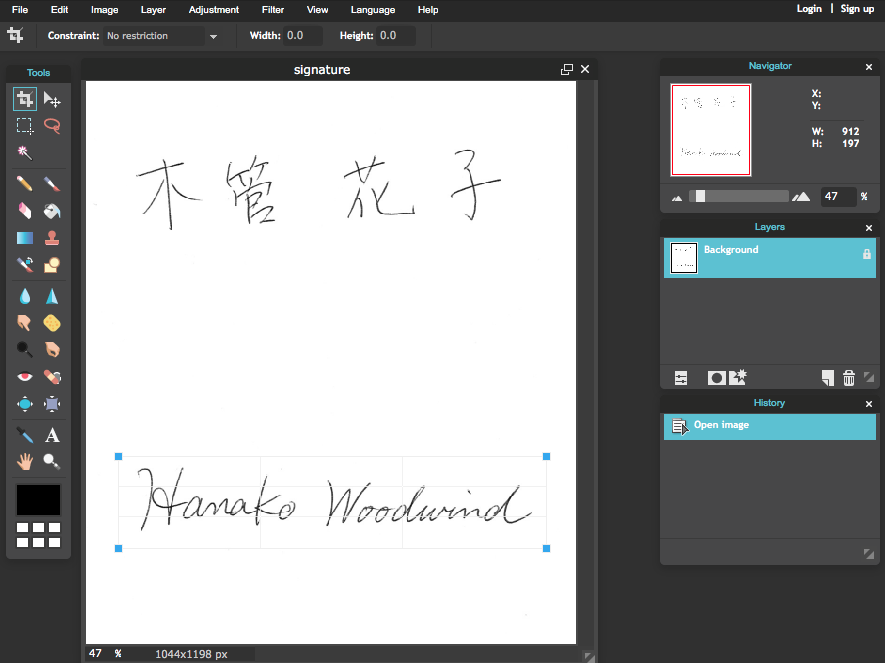
Go to PIXLR EDITOR and click “OPEN IMAGE FROM COMPUTER”.

Drag your cursol around your signature and press return to trim the picture.
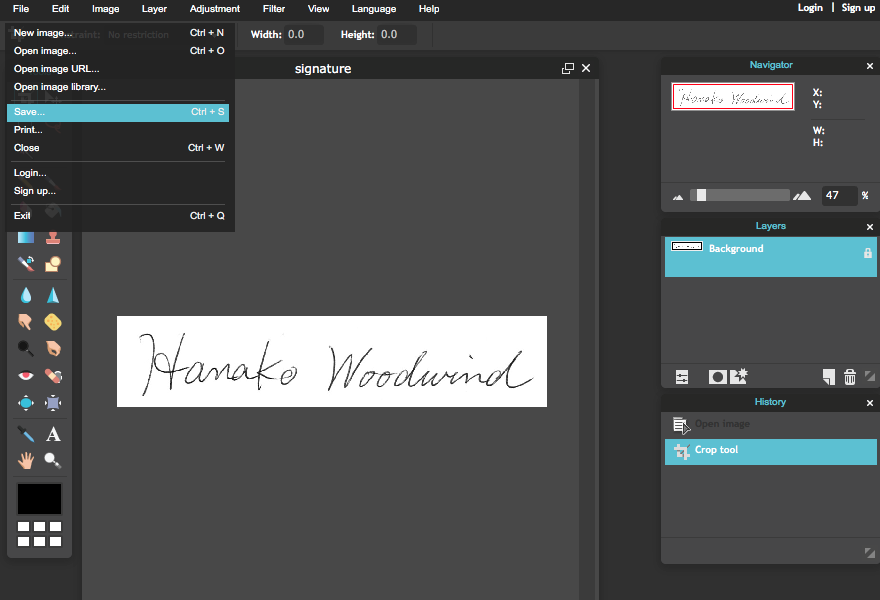
For ID photo, the size of trimmed photo should be 5 : 6 in width : height.Check Navigator window.
From “File” menu, select “Save”. Save the pdf file to your computer.
3) Convert your photo and signature to PDF
Use any software capable to convert the JPEG files to PDF format to prepare your images.
If unavailable, use free online converters.
http://jpg2pdf.com
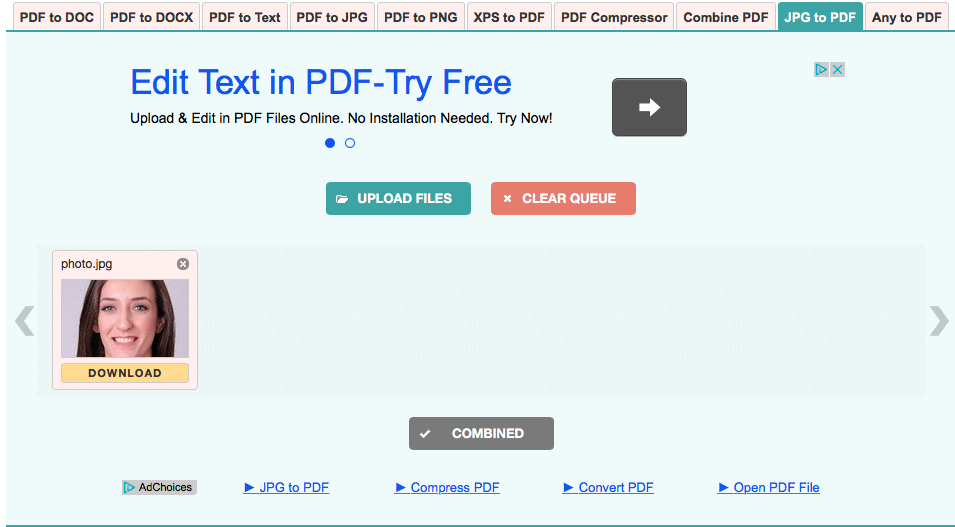
Follow the instruction to convert JPEG file to PDF. Download PDF to your computer.
4) Add your photo to the application form
Install Adobe Acrobat Reader DC and open the application form with the Adobe Acrobat Reader DC.
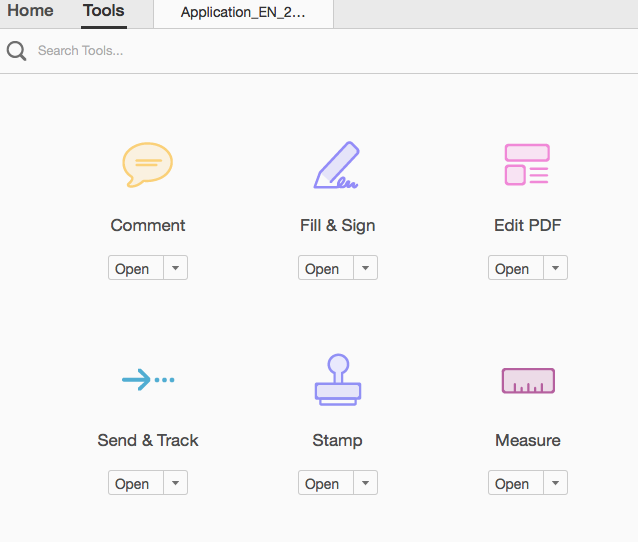
Select “Stamp” from “Tools” menu.
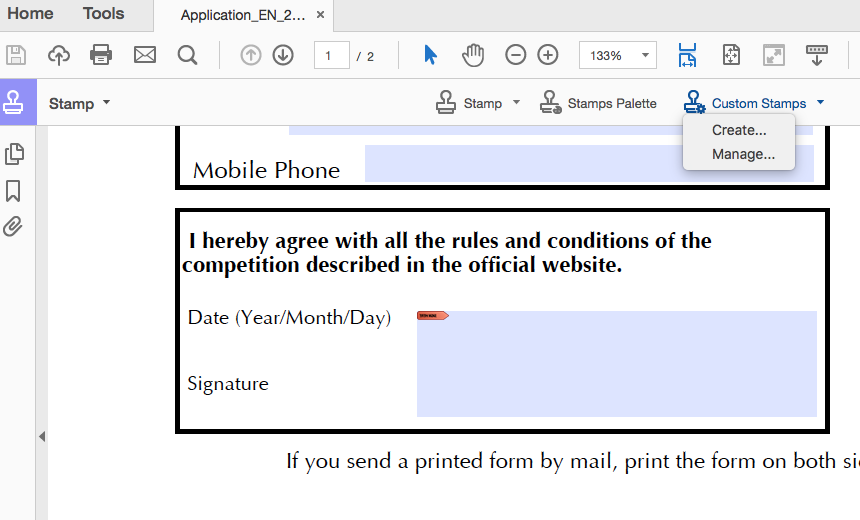
Select “Create” from “Custom Stamps” menu.
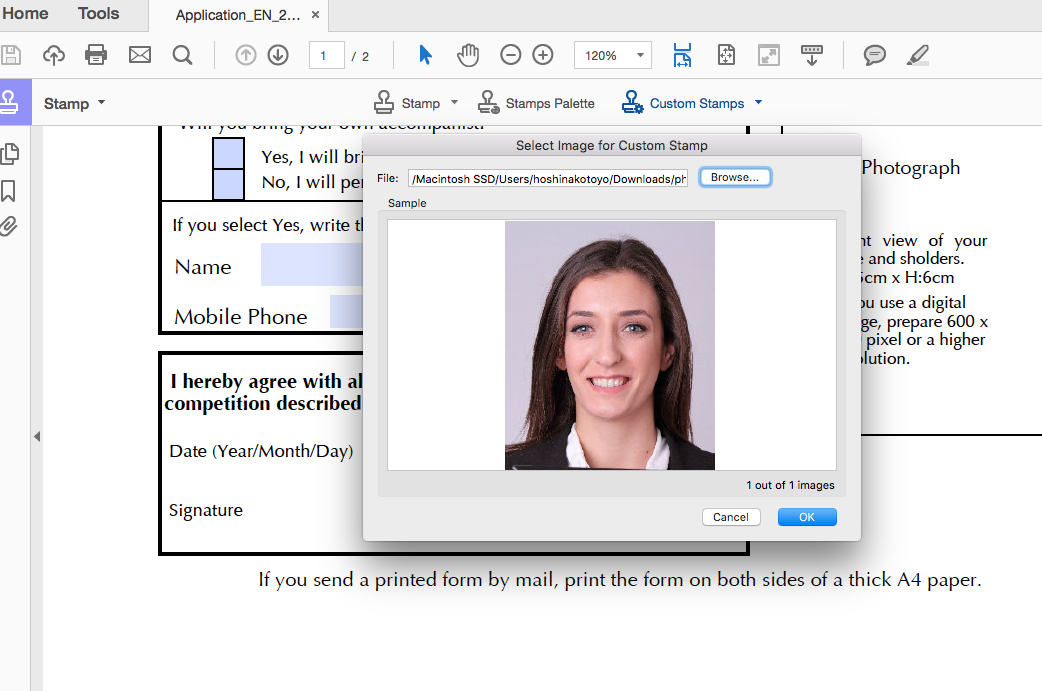
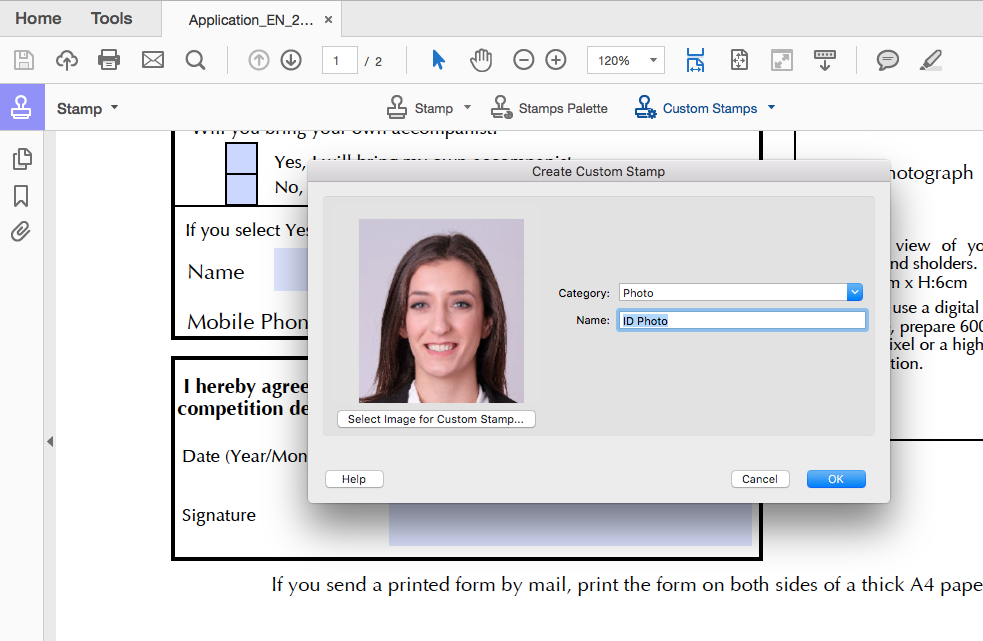
Select your photo PDF file created in step 3) and set category name as “Photo” and name as “ID photo”.
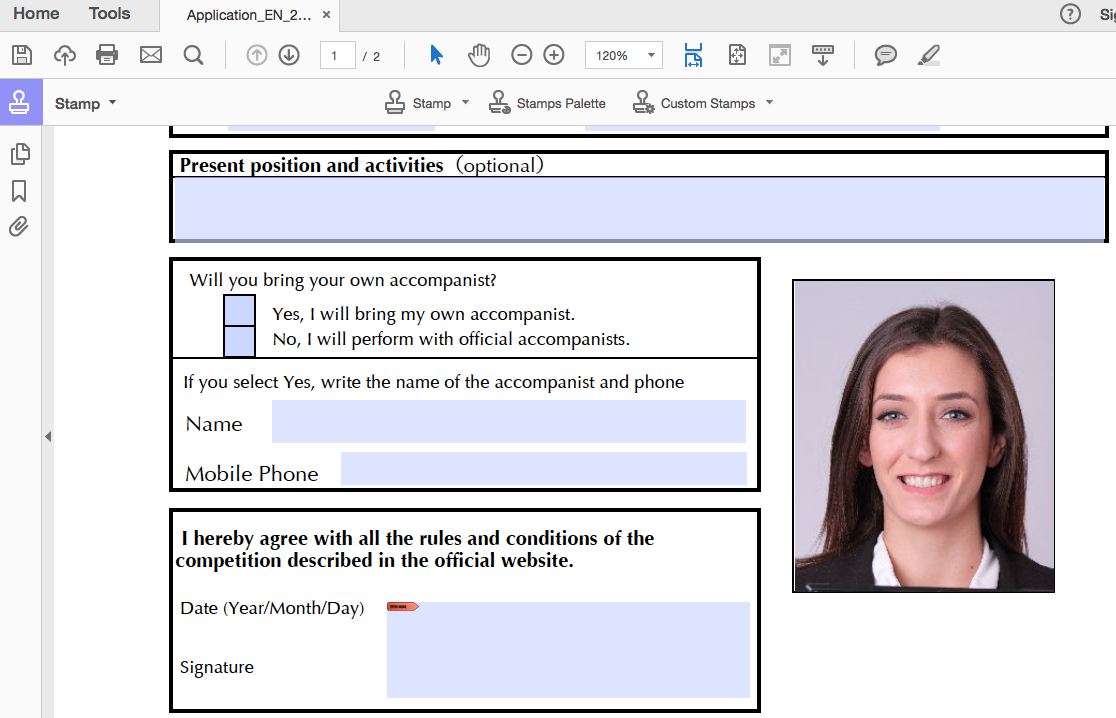
Click “Stamp” menu and select “ID photo” from category “Photo”.
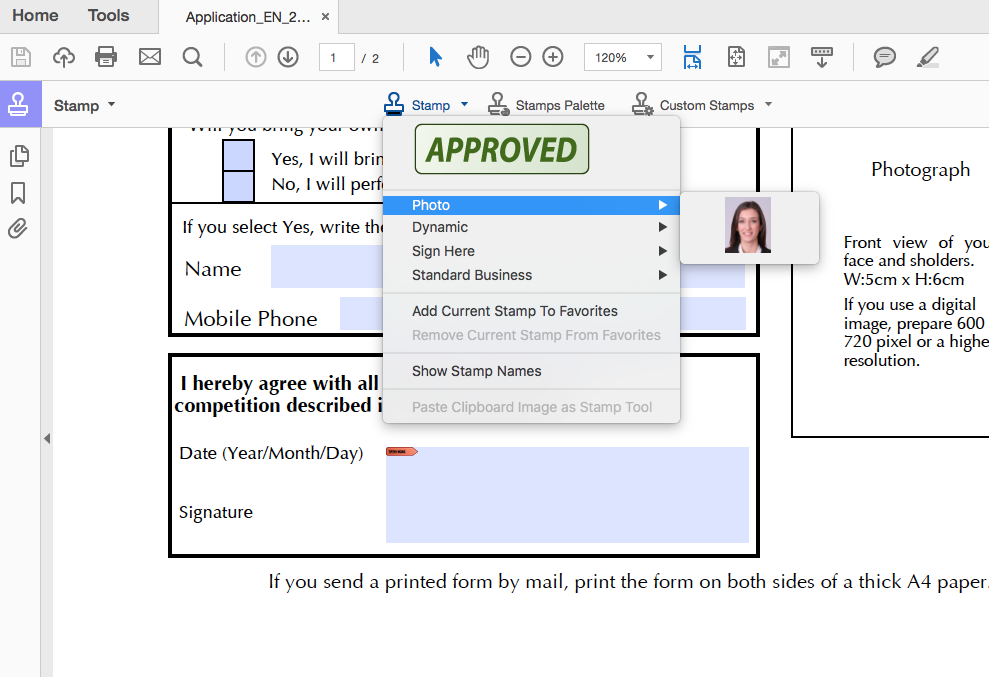
Your photo ID will be inserted to the PDF file. Press return. Resize of the photo PDF to fit the form.
5) Add your signature to the application form
Fill in all the blanks in the PDF form and save it before applying the change described in this section.
Click at the blue box at the “Signature” section. A new window to add a digital ID will open.
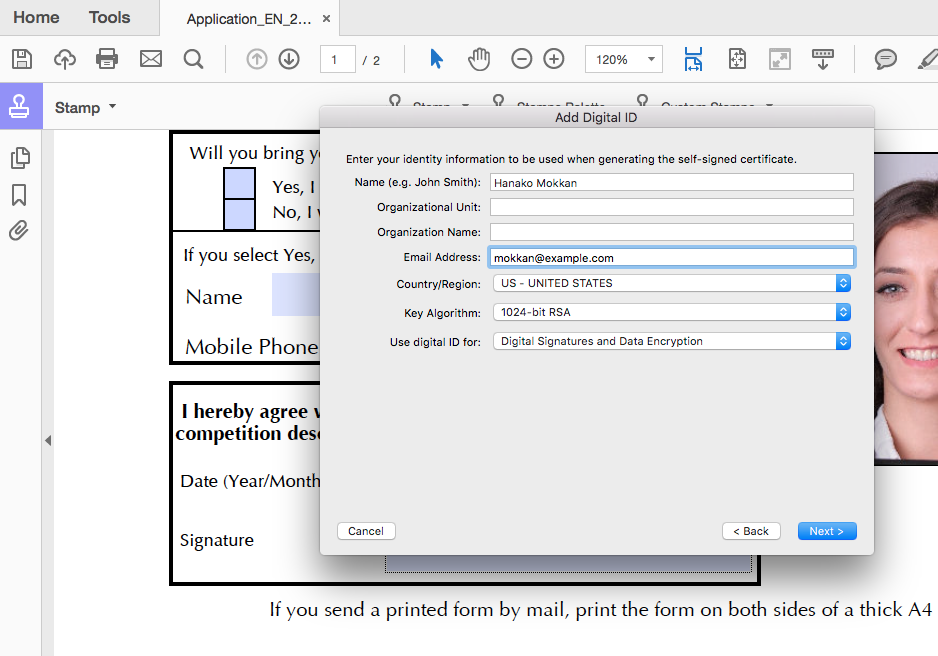
Select “A new digital ID I want to create now” and press Next button.

Fill your full name and E-mail address then press Next button.
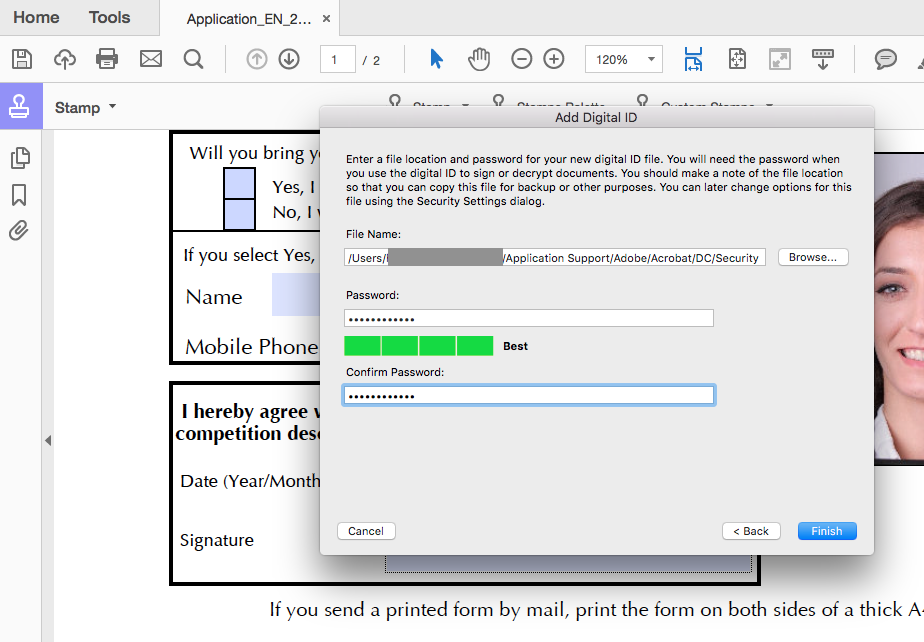
Set a password to save the digital ID. Keep a copy of the password in a safe place.
Press Finish button.
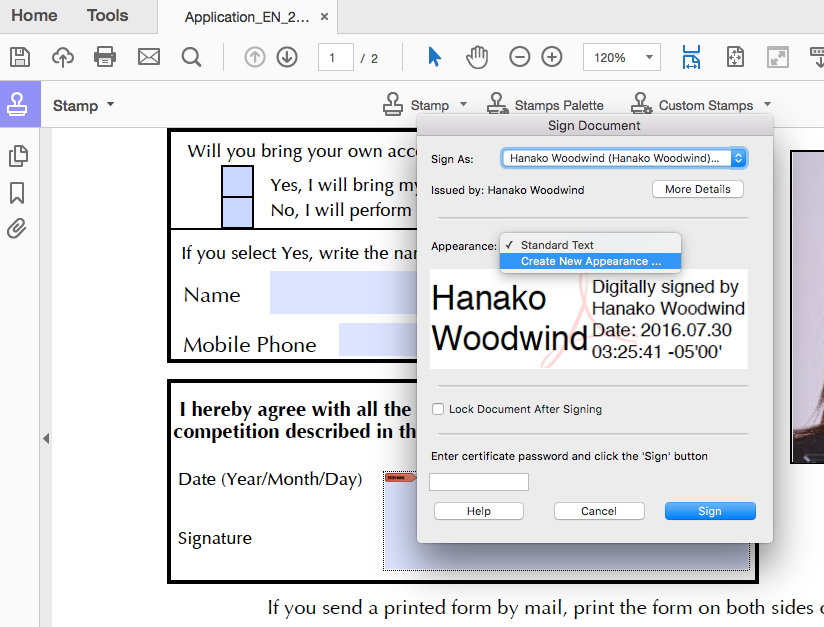
It goes back to the “Sign Document” window. Choose “Create New Appearance…” from the Appearance pop-up menu to assign your signature image.
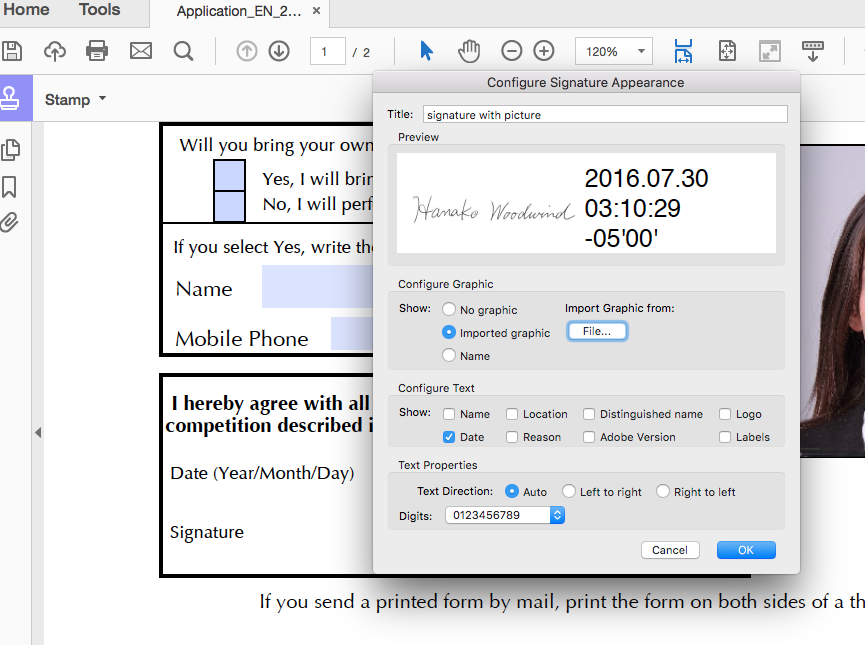
Set the title such as “Signature with Image” to open “Configure Signature Appearance” window. Choose ” Import graphic” button. Click at the “File” button to import the image of your signature. The image needs to be a PDF file (a JPEG file is unusable).
Check “date” button only and uncheck others in “Configure Text” section. Press OK button.
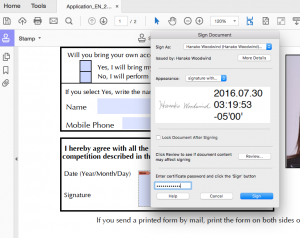
It goes back to the signature window. Input password you have selected and press “Sign” button.
Save the file with a different name from the original PDF file.
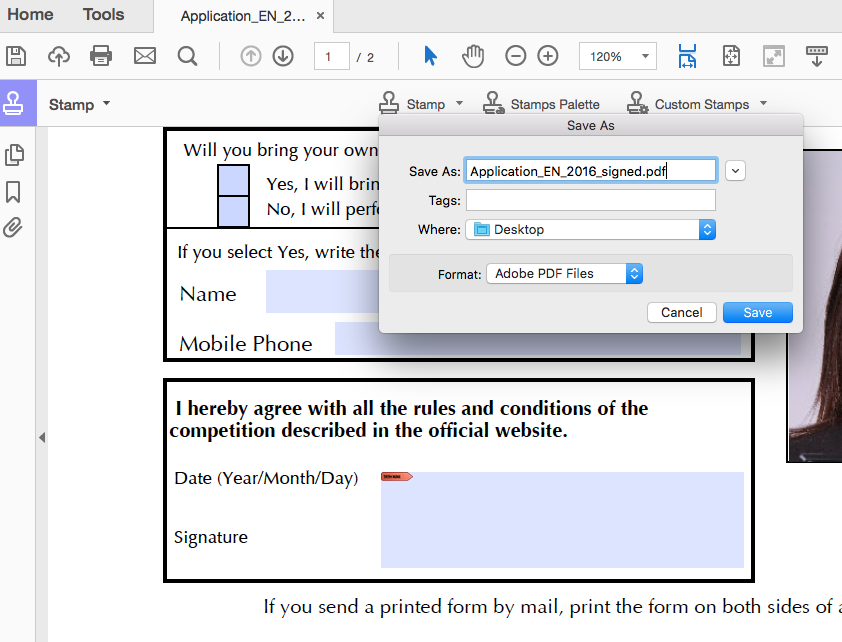

Send the signed file by E-mail.
If you need to change the information filled in the PDF file, use the original PDF file you saved at the start and follow the steps again.